内测分发 Gradle 插件使用指南
在根目录下的build.gralde文件的depandencies(buildscript部分)中添加:
 dependencies {
        classpath 'com.tencent.bugly.plugin:betauploader:latest.release'
    }
其中latest.release为插件最新版,如需指定具体版本则指定如1.0.0。 在module的build.gradle文件的顶部添加:
apply plugin: 'com.tencent.bugly.plugin.betauploader'

beta {
    appId = '<App ID>'
    appKey = '<App Key>'
}
除了appId和appKey之外,还可以设置其他属性,属性列表如下:
| 属性 | 值 | 说明 |
|---|---|---|
| appId | String | App ID <必选> |
| appKey | String | App Key <必选> |
| expId | String | 体验版本id,如需替换安装包时必填 |
| title | String | 版本名称,默认以<projectname>-<version name><version code>命名 |
| desc | String | 版本描述,默认为空 |
| secret | int | 公开范围(1:所有人,2:密码,4管理员,5QQ群,6白名单,默认公开所有人) |
| users | String | 如果公开范围是"QQ群"填QQ群号;如果公开范围是"白名单"填QQ号码,并使用;切分开,5000个以内。其他场景无需设置 |
| password | String | 密码(如果公开范围是"密码"需设置) |
| download_limit | int | 下载上限(大于0,默认1000) |
| apkFile | String | 指定上传的apk文件,如不指定则上传编译后的apk路径 |
| enable | Boolean | 插件开关,默认为true |
| autoUpload | Boolean | 是否自动上传,默认为false |
| debugOn | Boolean | debug模式是否上传, 默认为false |
<Project>/build.gradle文件如下:
buildscript {
        repositories {
            jcenter()
        }
        dependencies {
            ...
            classpath 'com.tencent.bugly.plugin:betauploader:latest.release'
        }
    }}
其中“latest.release”引用插件最新版本,更新插件只需要Rebuild一下工程即可。
<Project>/<Module>/build.gradle文件如下:
apply plugin: 'com.tencent.bugly.plugin.betauploader'
    ...
    beta {
        appId = '900000000'
        appKey = 'abcdefghijklmn'
    }
项目应用了Beta插件之后,插件默认是开启的,会在工程Gradle projects生成以下两个task:
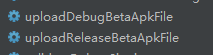
可以直接点击执行或者在命令行输入以下命令:
gradle uploadReleaseBetaApkFile
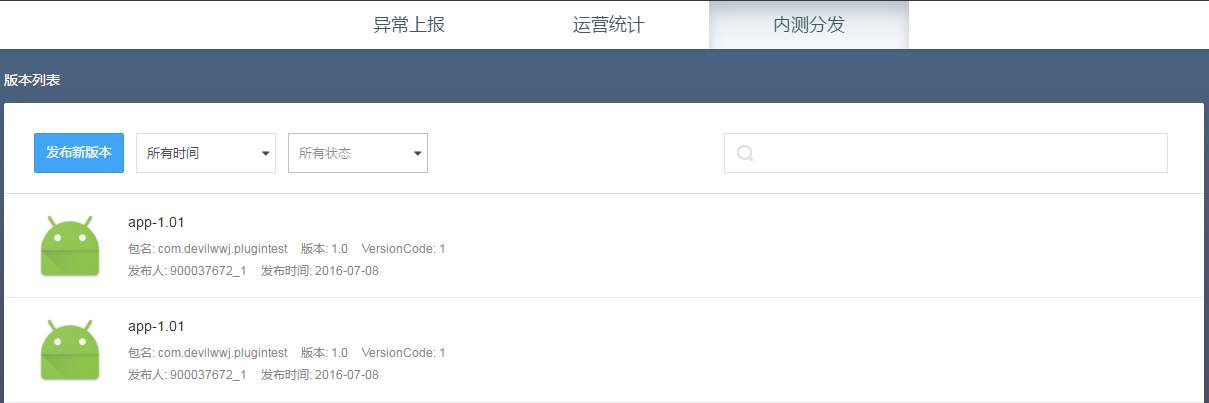
上传成功之后就可以在内测平台看到版本信息:
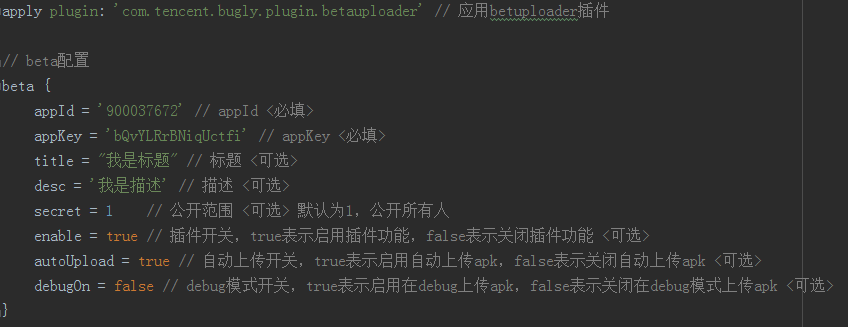
内置默认配置
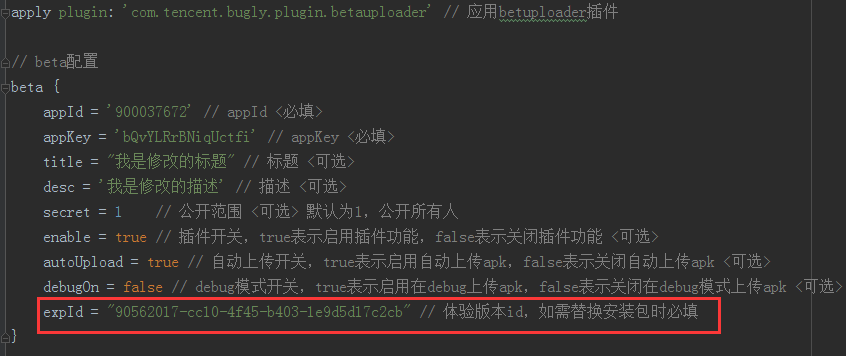
替换安装包
如果您想替换安装包就需要获取expId(体验id),如下图所示:

然后只需在beta增加expId参数,如下图所示:
支持按编译环境配置
Bugly支持按编译环境配置不同的appId和appKey,可以按以下配置: 插件版本要大于等于v1.0.1
afterEvaluate {
    android.applicationVariants.all { variant ->
        def buglyAppId = null;
        def buglyAppKey = null;

        if (variant.name.contains("debug")) {
            buglyAppId = '900037672'
            buglyAppKey = 'bQvYLRrBNiqUctfi'
        } else if (variant.name.contains("release")) {
            buglyAppId = '900036881'
            buglyAppKey = 'WROW4ybyWdWk59Qd'
        }

        variant.ext.buglyAppId = buglyAppId
        variant.ext.buglyAppKey = buglyAppKey
    }
}

// 请保证 afterEvaluate和apply plugin的先后顺序
apply plugin: 'com.tencent.bugly.plugin.betauploader' // 应用上传apk插件

// beta配置
beta {
    title = "YOUR_APP_TITLE"
    desc = "YOUR_APP_DESC"
    enable = true
    autoUpload = true
    debugOn = false
}
支持多渠道配置
Bugly支持配置多个productFlavor,每一个productFlavor代表一个渠道包,如果想要分开上传,那就需要在bugly后台创建多个APP,并在创建配置中,安装BuildVariant来输入不同的appId和appKey:
afterEvaluate {
    android.applicationVariants.all { variant ->
        def buglyAppId = null;
        def buglyAppKey = null;
        switch (variant.name) {
            case 'xiaomiDebug':
                buglyAppId = 'YOUR_APP_ID'
                buglyAppKey = 'YOUR_APP_KEY'
                break;
            case 'xiaomiRelease':
                buglyAppId = 'YOUR_APP_ID'
                buglyAppKey = 'YOUR_APP_KEY'
                break;
            case 'qqDebug':
                buglyAppId = 'YOUR_APP_ID'
                buglyAppKey = 'YOUR_APP_KEY'
                break;
            case 'qqRelease':
                buglyAppId = 'YOUR_APP_ID'
                buglyAppKey = 'YOUR_APP_KEY'
                break;
        }
        variant.ext.buglyAppId = buglyAppId
        variant.ext.buglyAppKey = buglyAppKey

    }
}

// 请保证 afterEvaluate和apply plugin的先后顺序
apply plugin: 'com.tencent.bugly.plugin.betauploader' // 应用上传apk插件

// beta配置
beta {
//    appId = 'YOUR_APP_ID'
//    appKey = 'YOUR_APP_KEY'
    title = "YOUR_APP_TITLE"
    desc = "YOUR_APP_DESC"
    enable = true
    autoUpload = true
    debugOn = false
}


android {
    ....

    productFlavors {
        xiaomi {
        }

        qq {
        }
    }

    buildTypes {
        debug {
        }

        release {
        }
    }
}